Our warm-weather playground is closing for the season, which means that soon, you’ll be trading wheels for skis and waders for down jackets. We know — the winter stoke is real. But resist the urge to shove all your gear into the garage to be dealt with next spring; there’s work to be done.
Dirt and grime do a good job of hiding damage that’s accumulated over six months of fun. When it comes to something like a mountain bike, that buildup can impede the function of your drivetrain and other components. “Nothing’s more frustrating than trying to ride when the weather clears and getting stopped by surprise mechanical issues,” notes Nick Martin, founder of The Pro’s Closet, the largest e-retailer for pre-owned bikes and cycling gear.
And when it comes to a sport like climbing, poorly cared for gear can become a safety issue. “Taking a couple of hours in between seasons to go through all your gear is what sets you up for success — and safety — next season,” says Matt Hickethier, senior outdoor instructor for REI’s Denver location. Plus, you paid serious money for some of this stuff. “If you take care of high-quality hiking boots season after season, they can last you 20 years,” he adds.
Caring for your gear might not be as simple as leafing through the instruction manual (which you probably threw in the trash anyway). Below, you’ll find the best way to clean, dry, care for and store all your favorite summer gear so it’s ready for action at the first sign of a thaw next year.
Camping Gear

Sleeping Bags
Clean: You want to wash your sleeping bag as little as possible, especially if it’s down, since it makes the insulation clump and reduces its lifespan. (Hickethier likes to sleep with a liner and just washes that every few trips.) At the end of the season, place the bag in a front-load washing machine and use a mild detergent. The centralized spin on top-load machines can tear the stitching apart; if that’s all you have, lay your sleeping bag out and scrub it with an abrasive plastic brush and mild detergent. Then hose it off.
Dry: Hang to dry.
Care: If your bag came waterproof from its maker, use a spray (like Nikwax TX-Direct Spray-On) to restore that repellency.
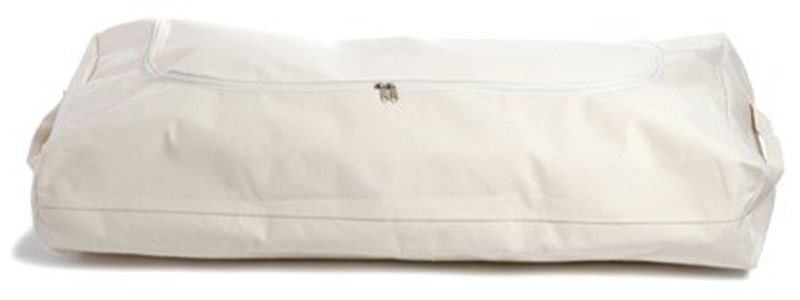
Store: Once it’s completely dry, either hang the bag in your gear closet or put it in a mesh or breathable cotton bag that’s larger than the stuff sack you keep it in for trips. You want to keep the insulation as high a loft — that’s the fluffiness — as possible. Compression compromises the bag’s resilience, Hickethier says.
Cooking Equipment
Clean: Wipe down stoves and pots just like you would those in your kitchen, getting rid of any food particles that could breed bacteria or mold over the winter months. If you have a gas line, light the stove, then shut the gas off at the bottle rather than on the stove. According to Hickethier, this lets the gas flush through the line to the burner completely, and when it stops, you know the line is clear.
Dry: Let all components air dry. If the stove uses jet fuel, dry upside down so water isn’t pooling through the system.
Store: Your stove and cooking gear should be stored inside, away from the elements, which can erode the metal. Regulations for storing fuel vary by state and area, but if you have a flammables closet in your garage, that’s ideal. Otherwise, make sure it’s in an area that’s well ventilated, well contained and not going to overheat.
Tents
Clean: It’s important to get all the dirt off and out of your tent before storing it — any sand will act like sandpaper and degrade all your soft materials including stitching, Hickethier says. Turn the tent inside out, shake it, then scrub both it and the rainfly with a mild detergent (like Dawn) and a soft-bristled brush. Clean the ends of the poles that go into the ground and the stakes. Hose everything down.
Dry: Reassemble the entire tent and let it dry out somewhere indoors like in the garage, basement, even living room — UV rays actually wear down the materials over time, and since your tent obviously sits in the sun most of its erected life, you want to limit exposure as much as possible, Hickethier says.
Care: Put a UV treatment on the outside of the tent and the rainfly to extend its life. If there’s any peeling on the rainfly, treat with a waterproofing material like Nikwax. Check all your seams and cover any tape that’s peeling with silicone glue.
Store: Break down the poles and load them into the tent bag first. Never store poles under tension since they can start to wear out if taut over time, Hickethier says. Next, stuff the rainfly in the bag randomly, in a kind of circular pattern, followed by the body of the tent, then the footprint. Contrary to common sense organizational instincts, folding your tent is a no-no. “Every time you fold your tent, you’re creating constant wear on the same spots which will eventually break down the material, waterproofing and seams,” Hickethier explains.
Sleeping Pads
Clean: Inflate the pad, then hose it down, scrubbing with a mild detergent if it’s dirty.
Dry: Dry inside, out of UV light and inflated to ensure no water gets caught in creases.
Store: If it’s pillow style, pack the pad back down and store in its stuff sack. If it’s foam and self-inflatable, store the pad partially inflated with valves open to prevent the foam from breaking down under compression.
Hiking Gear

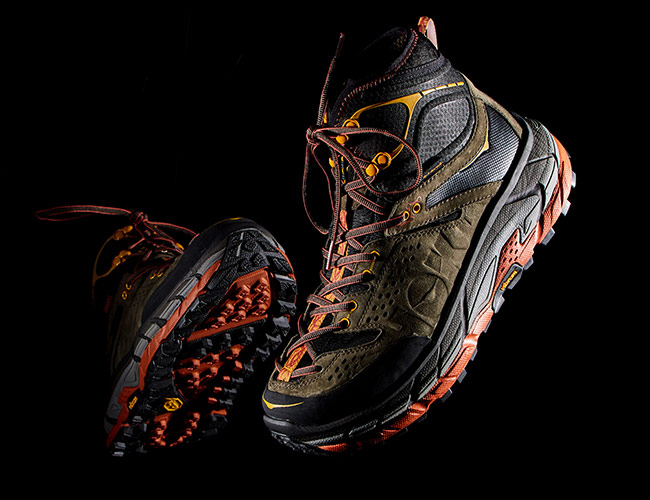
Hiking Boots
Clean: At the end of the season, do a thorough version of what you should do after every hike: Pull out the insoles, then give your boots a light wash with water, mild detergent or leather cleaner (if applicable) and a soft brush.
Dry: Hang boots upside down to allow air to flow in and excess moisture to drain out until they’re completely dry.
Care: Check all materials for degradation. If your boots are leather and puckering, turning a lighter color, or starting to look like dry skin, apply leather conditioner (Nikwax makes a good one) and let that set, then re-waterproof with a wax-based solution or silicone-based wax. Unlace your boots and check the strings’ conditions — if they’re fraying anywhere (it’ll likely be where they’re crossing a grommet) replace them. Check all metal components, like the hooks that help cinch the ankle cuff, and make sure there’s no damage or warping there. If the soles are separating anywhere, use a silicone glue (though if your soles are Vibram, contact the manufacturer because they should put a whole new one on for you).
Store: Keep boots in a dry, low-light spot, like the bottom of your closet or in a container in a low-humidity garage.
Backpacks
Clean: At the very least, empty your pack, turn it inside out and shake it to get all the small pieces of dirt and food out. If your pack has seen a lot of mud, turn it right side out and use a mild soap (like Dawn), a vinyl or plastic scrub brush and lukewarm water, scrubbing in a circular motion until all the dirt is gone. Make sure the water isn’t too hot, so it doesn’t shrink the material, Hickethier says. Check the straps and the buckle components for embedded mud or dirt.
Dry: Lay flat outside to dry.
Care: Check that the stitching isn’t fraying or peeling anywhere and that all hard components (i.e., plastic buckles) are still functioning correctly. Replace before storing.
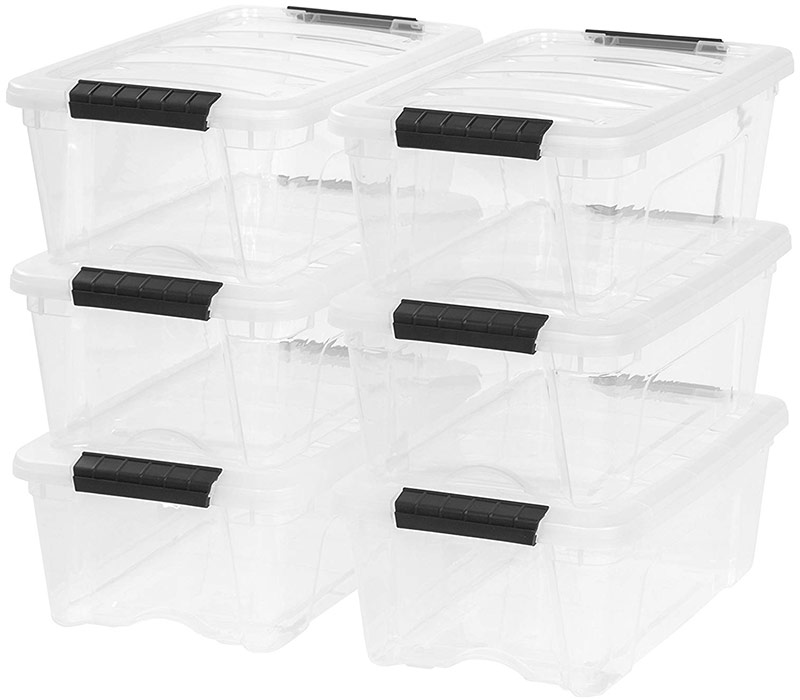
Store: Don’t hang the bag — leaving the straps under tension, even lightly, will cause the material to stretch over time. Instead, compress the pack in a storage bin and store it somewhere with low moisture.
Water Reservoirs
Clean: A poorly cleaned, sealed reservoir is the perfect environment to breed mold and bacteria, Hickethier says. If your bladder had anything other than water in it (like an electrolyte drink) or there are signs of mineral buildup from hard water, use a dissolvable tablet, like Bottle Bright or CamelBak Cleaning Tablets, which create a bubble effect to scrub the inside of the reservoir. Run through the line, then rinse the whole thing out. (You can also use warm water, silicone-safe soap like Dawn and a soft brush, but the soap is harder to get out completely.)
Dry: Disconnect the line (if it has one), drain all the water, then hang vertically to dry (like over a hook). Some newer bladders will turn inside out, which is ideal. Otherwise, invest in a reservoir hanger (like this one from Camelbak) which is designed to keep the rubber and silicone components open so the bladder can drip dry completely.
Store: Keep the cap off, then fold the hose in half and tuck the bend into the mouth of the bladder to keep it open. Store it with the rest of your hiking gear. Some people also like to store the whole thing in their freezer to ensure no mildew develops.
Biking Gear

Road and Mountain Bikes
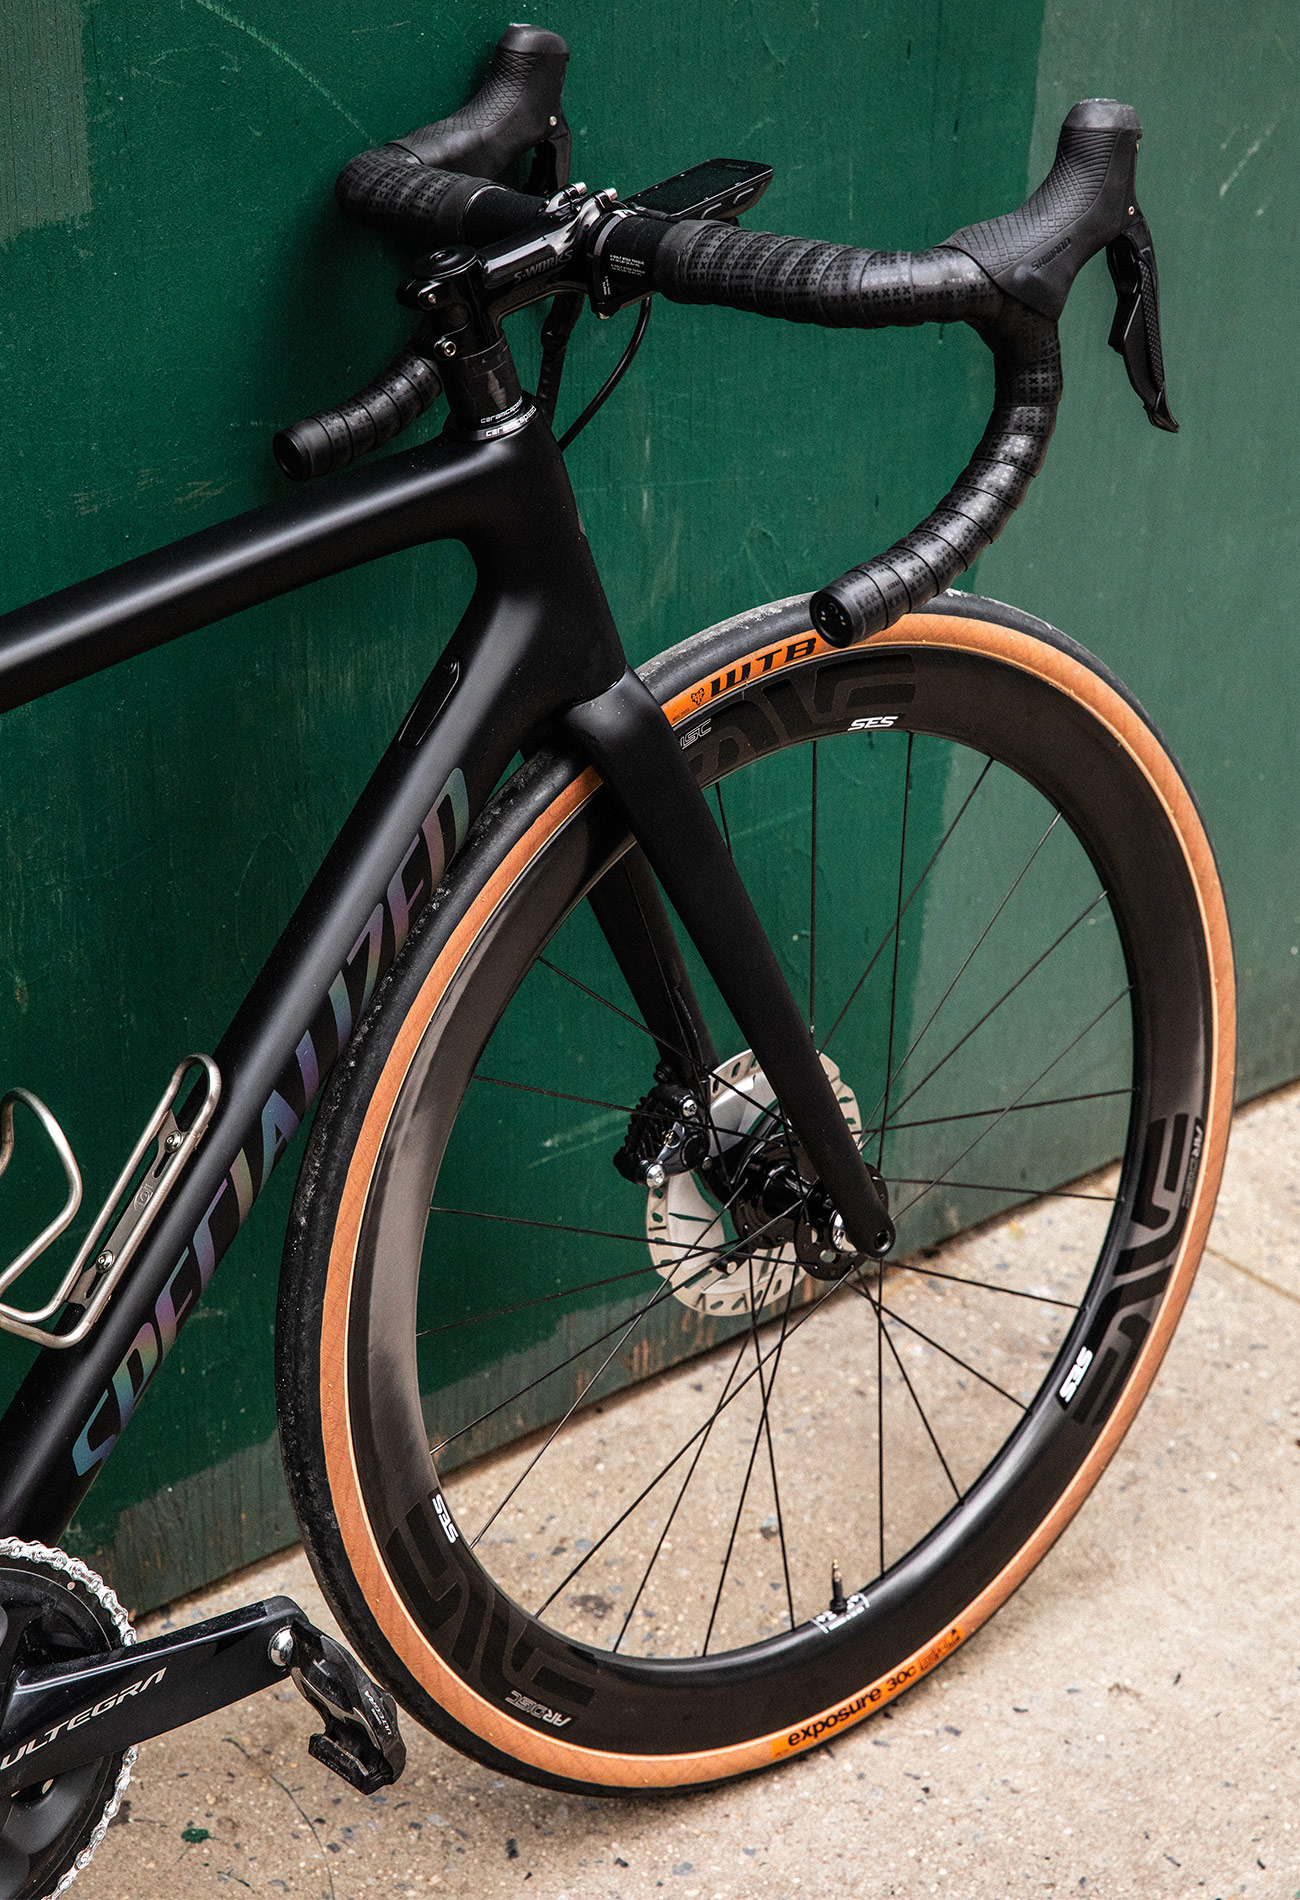
Clean: It’s definitely possible to wash a bike too much or too hard, says Martin. “Bikes are full of moving parts that are small and delicate,” he explains. “Overzealous washing can actually force crucial lubricants out of these parts and push dirt and grime in.” Be gentle: fill a spray bottle with warm water and a little mild dish soap (this, according to Martin, works just as well as bike-specific degreasers) and spray the whole thing down. Use a soft brush or cloth to agitate dirt and grime, especially on the chain and drivetrain. “A dirty or unlubricated drivetrain will cause a lot of premature wear, noise and shifting issues,” he adds. Rinse the frame and components with a hose or a bucket of clean water.
Dry: “Leaving your bike dripping wet is a recipe for corrosion,” Martin says. Take a small cloth and wipe down everything you can reach, including the chain and drivetrain. You can use a detailing spray (like Pedro’s Bike Lust) on the painted surfaces for an extra sheen and help in repelling dirt and dust during storage and on your next ride.
Care: Once dry, apply a chain lubricant to your drivetrain. “Only the chain needs lubrication and only on the rollers,” Martin warns. Use a rag to wipe away any excess lube that lands outside the chain or on the cassette, chainrings and derailleur pulleys. Run your shifter up and down through all the gears to make sure it doesn’t need any more tuning before you store. Then, take an inventory of what maintenance you can do during the off-season. For mountain bikes, you want to service the suspension once a year, either on your own or at a bike or suspension shop, Martin advises. On any bike, check all your consumable components like the chain, tire and brake pads for wear, and replace them if needed.
Store: Store your bike indoors — namely somewhere dry and shielded from the weather, because sun, wind, rain and snow will damage and shorten the lifespan of every component on your bike, Martin says. (If you have no choice but to keep it outside, get a waterproof cover and maintain it regularly.) You can keep it on the ground, but the most convenient way to store a bike is on a hook. For road, cyclocross or gravel bikes, hang them however you like (i.e., upside down or vertically from the ceiling or wall). Mountain bikes with suspension forks should be hung vertically — never upside down — with the front wheel up to keep the seals and foam rings in the fork from drying out.
Cycling Shoes
Clean: Pull out the insoles and wash with water, mild detergent or leather cleaner and a soft brush.
Dry: Stuff with newspaper and set in an airy space to let dry. Be sure they dry completely before storing.
Store: Keep shoes in a dry, shady spot, like a container in a low-humidity garage.
Helmets
Clean: Take a brush and clean with warm water and a gentle soap or shampoo, since you already know that won’t irritate your skin, Martin points out.
Dry: Hang to dry in a well-ventilated area.
Store: Store in a container in a low-humidity garage (out in the open risks dust and cobwebs).
Fishing Gear

Fly Lines
Clean: “Your line is exposed to dirt, sand, rocks and all kinds of funky stuff in the water that wants to decrease slickness and start breaking down the line,” observes Shawn Combs, Director of Product Development for Rod & Tackle at Orvis. Run the entire line through a Scientific Anglers cleaning pad — or a paper towel if you’re in a pinch.
Dry: Air dry.
Store: Re-spool your reel and store.
Rods
Clean: Wipe down with a clean, dry cloth. Wash reel in warm water with a soft cloth.
Dry: Air dry.
Store: Store in a rod tube.
Waders and Boots
Clean: River water should be rinsed off with a hose, and any mud on your boots scrubbed off with a soft brush and gentle dish soap.
Dry: Hang your waders to dry. Stuff boots with newspaper and leave in a well-ventilated area.
Store: Fold waders and store alongside boots in a container.
Climbing Gear

The most significant care aspect of climbing gear is to adhere to the manufacturer recommendations of life expectancy since your life depends on the reliability of these products. “Even if a rope was never used, it still has a life expectancy for how long that piece of gear is serviceable,” Hickethier explains. Info for harnesses, ropes and protective equipment can all be found on the manufacturer’s website.
Harnesses
Clean: You may still use your harness inside during the winter, but you want to clean all the dirt and grime from the outdoor season off. Always handwash it to prevent fraying and breaking, Hickethier says. Scrub the soft material and metal parts with warm, soapy water.
Dry: Hang inside to dry.
Care: Before you store it, as well as before each use, inspect the stitching, lacing and hard components of your harness. Fix anything immediately — if you forget and head out with a broken buckle, it’s hazardous, Hickethier points out.
Store: Pack flat, somewhere dry, so the material doesn’t stretch out.
Climbing Shoes
Clean: Since bouldering shoes get more dusty than dirty and have a particular grip to them, skip the soap and rinse with warm water until it runs clear.
Dry: Stuff with newspaper and set in a well-ventilated area to dry.
Store: Store alongside the rest of your climbing gear.
Ropes
Clean: Fill your bathtub or sink with warm water and add rope wash (like this one from Beal) and let it soak according to the package instructions. If the water is exceptionally dirty, drain and repeat until the water runs clear.
Dry: Set rope outside to dry.
Store: Wrapping a rope tightly can create kinks and degrade the fibers over time, Hickethier says. Instead, coil it loosely on the ground or hung on two supports (like nails). Store away from UV light.
Cams
Clean: If the metal parts have gunk built up inside, rinse with hot water and mild soap.
Dry: Wipe dry with a cloth.
Care: Lubricate the metal parts you washed, as well as any clean cams in need of some slickness (use a product like Metolius Cam Lube). Check the webbing to ensure it’s clean and not wearing down. If it’s degrading, most companies will re-sling it for you, Hickethier says.
Store: Attach to a carabiner to keep organized, then store with the rest of your climbing gear.
Note: Purchasing products through our links may earn us a portion of the sale, which supports our editorial team’s mission. Learn more here.


