58 Tips to Get Your Tech to Work Better for You
Our tech gadgets, apps and gear have untapped potential. Technology has the potential to improve our lives, so we gathered all the best tech tips and hacks into one space so you can get the most out of your gadgets. Find out how to be productive on a Mac, learn how you can cut your phone bill in half and more.

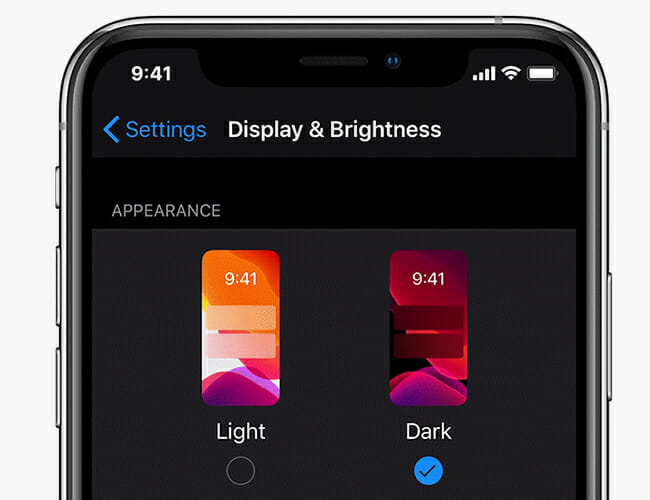
Why Some iPhone Users Should Immediately Switch to Dark Mode
Depending on the iPhone model you have, switching to Dark Mode could greatly extend your battery life.
7 Google Chrome Settings You Should Change Right Now
In the usual course of day-to-day life, you don’t need to spend much time messing around with browser settings, but if you get under the hood you can give yourself a more streamlined and secure…
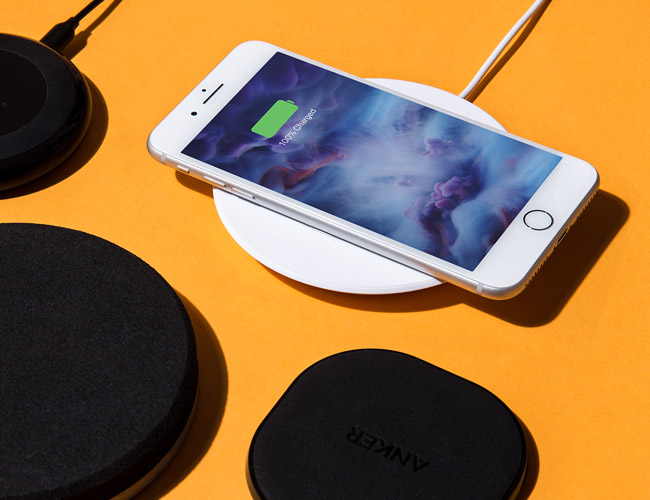
Everything You Know About Charging Your Smartphone Is Wrong
What’s the best way to charge your phone? What habits should you bend over backwards to avoid? We talked to a battery expert to find out.
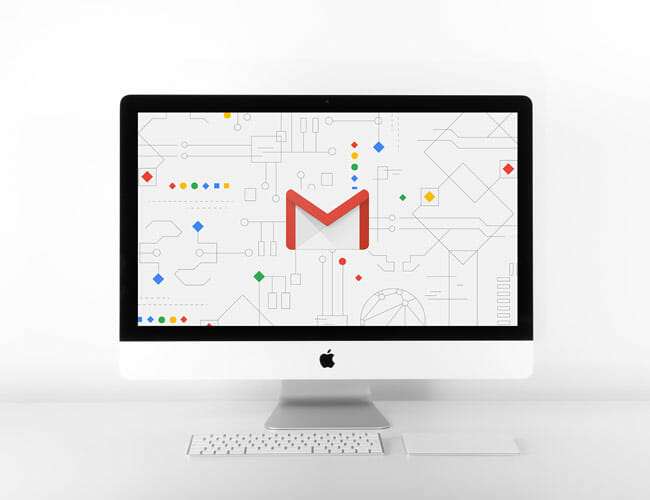
9 Easy Gmail Hacks to Get Your Inbox Under Control
Gmail has all sorts of tools and options that can help you crank through email faster. You can live without them, sure. You probably have been! But they can make email a little less of…
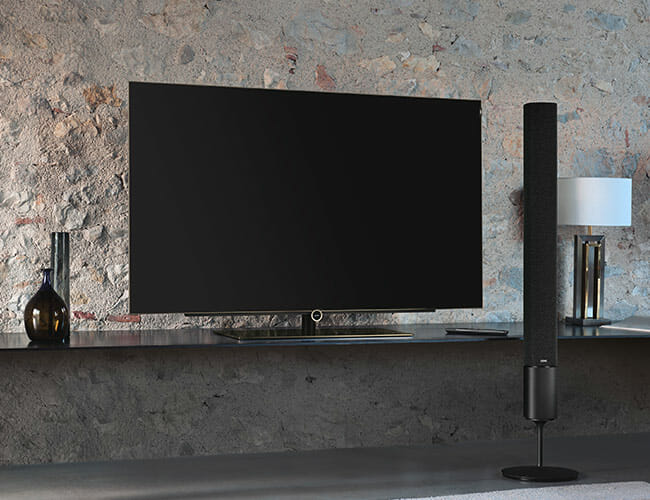
Buy a New TV? Here Are the Settings You Need to Change Right Away
Got a new TV over Black Friday or Cyber Monday? Here are the factory settings that are worth diving into the menu maze to change.

How to Prevent the Internet from Tracking You
Follow these steps to completely disappear from the online world.
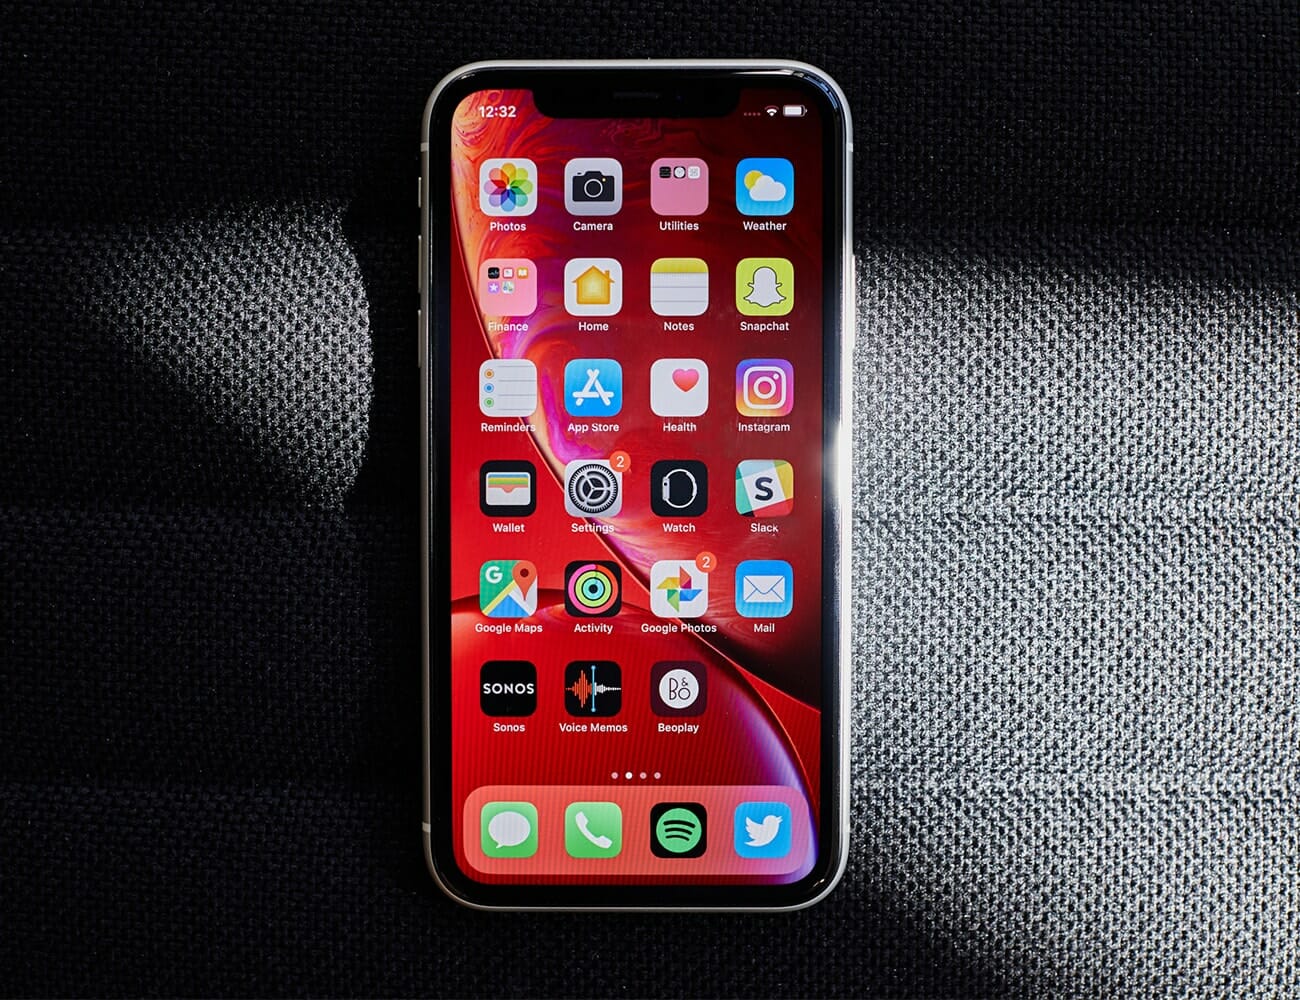
8 Settings to Change on Your Smartphone Right Now
New phone? Here are the tweaks you should make right away to ensure you get the most out of it.
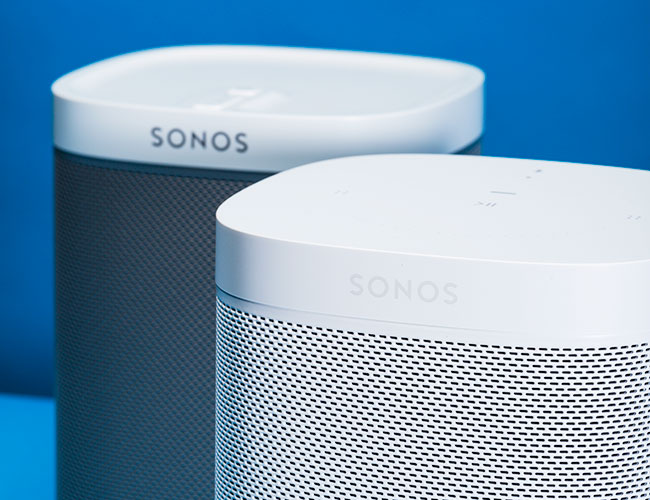
The One Tip Every Sonos Speaker Owner Should Know
There’s a quick way to regroup a rouge speaker back into your Sonos multi-room system.

How to Play Xbox One Games on Your Laptop
For when you’re traveling, or your roommate’s using the TV.

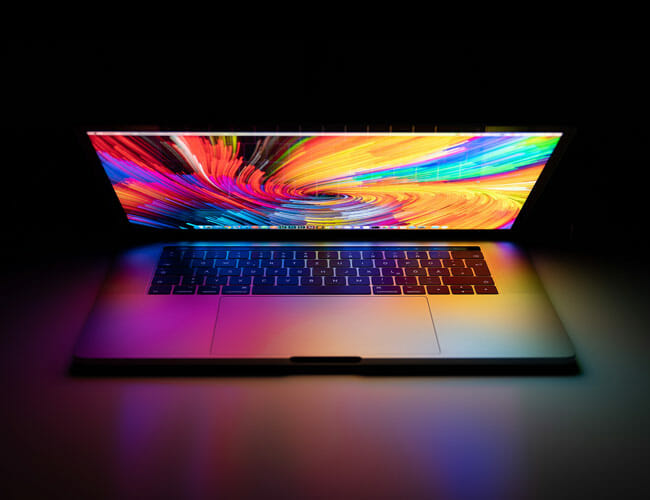
7 Ways To Be More Productive on a Mac Without Spending a Dime
These seven quick, free tips can boost your productivity on macOS and help you get more done in less time.

How to Turn Your Sonos Into Computer Speakers
First step: Buy a Sonos Connect.

7 Simple Productivity Tricks to Get the Most Out of Your PC
Here are 7 tools, features and options for productivity tricks you should know about Windows.

Every Photographer Should Download This $2 iPhone App
The app gives iPhone users complete control over the camera’s rear flash brightness and screen brightness.

If You Own an iPhone, Here’s How to Cut Your Monthly Bill In Half
Google’s cell phone service, Google Fi, now works with all new iPhones. It’s a great way to manage your data and cut the cost of your monthly cell phone bill.

This Simple Trick Will Boost the Audio Quality of Spotify and Apple Music
Do you subscribe to Spotify, Apple Music, Amazon Music Unlimited or YouTube Music? You may not be getting your money’s worth.